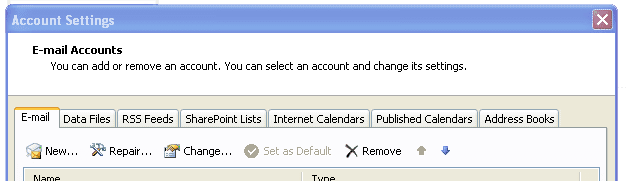
- From Outlook, click on “File” in the top toolbar, then “Info”, and then select “Account Settings” from the “Account Settings” drop-down menu.
- From the E-Mail Account settings, select the “New” icon to create a new account. You should get a screen that looks like this
- Choose “E-Mail Account” from the service options, and then select “Next” to be brought to the Account Setup page.
- Then, select the “Manually configure server settings or additional server types” dial on the Auto Account Setup page and click “Next”
- Select the “Internet E-Mail” dial on the Choose Service page. Click “Next” to continue on to the User Information page.
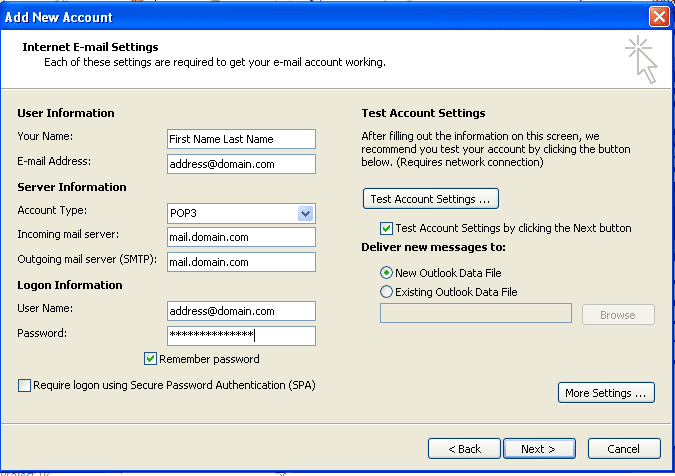
- Review all information. Make sure the remember password box is checked. You email address in its entirety is the username. Click on “More Settings” on the bottom right.
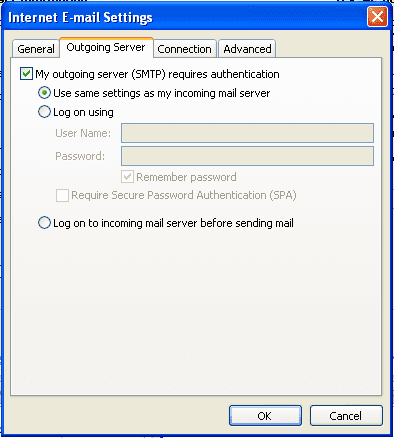
- From the “Outgoing Server” tab, select the “My outgoing server (SMTP) requires authentication” box.
- Make sure the “Use same settings as my incoming mail server” dial is selected and then continue on by clicking on the “Advanced” tab.
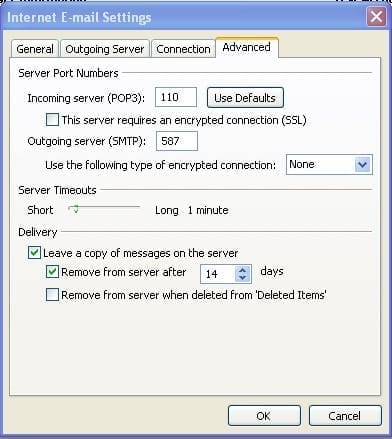
- Change the Outgoing server (SMTP) to 587.
- To finish, click OK, click Next, and then click Close.